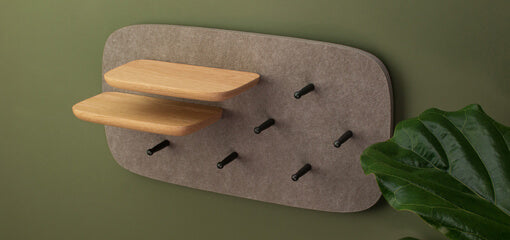

MANTEL Install Tips & Guide
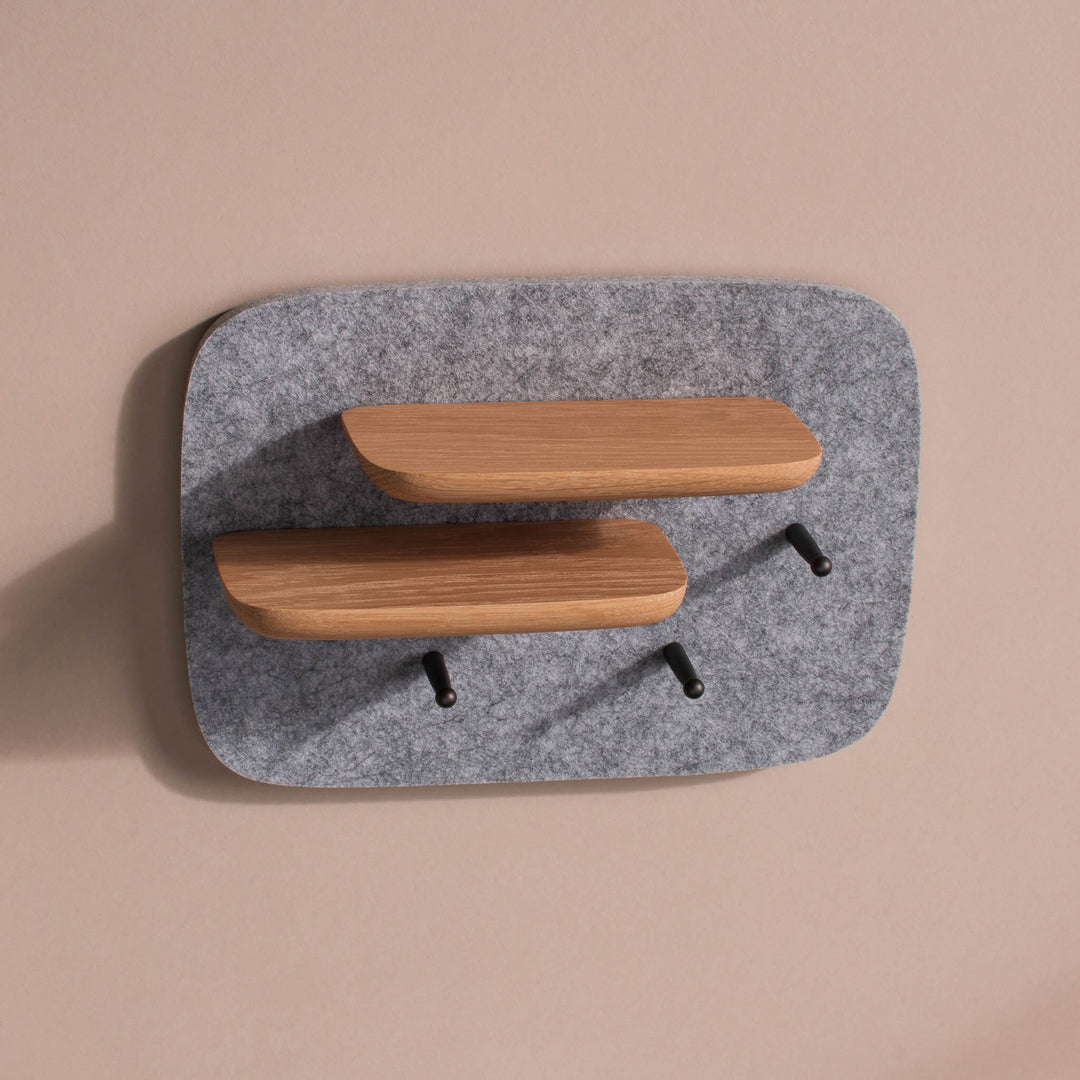
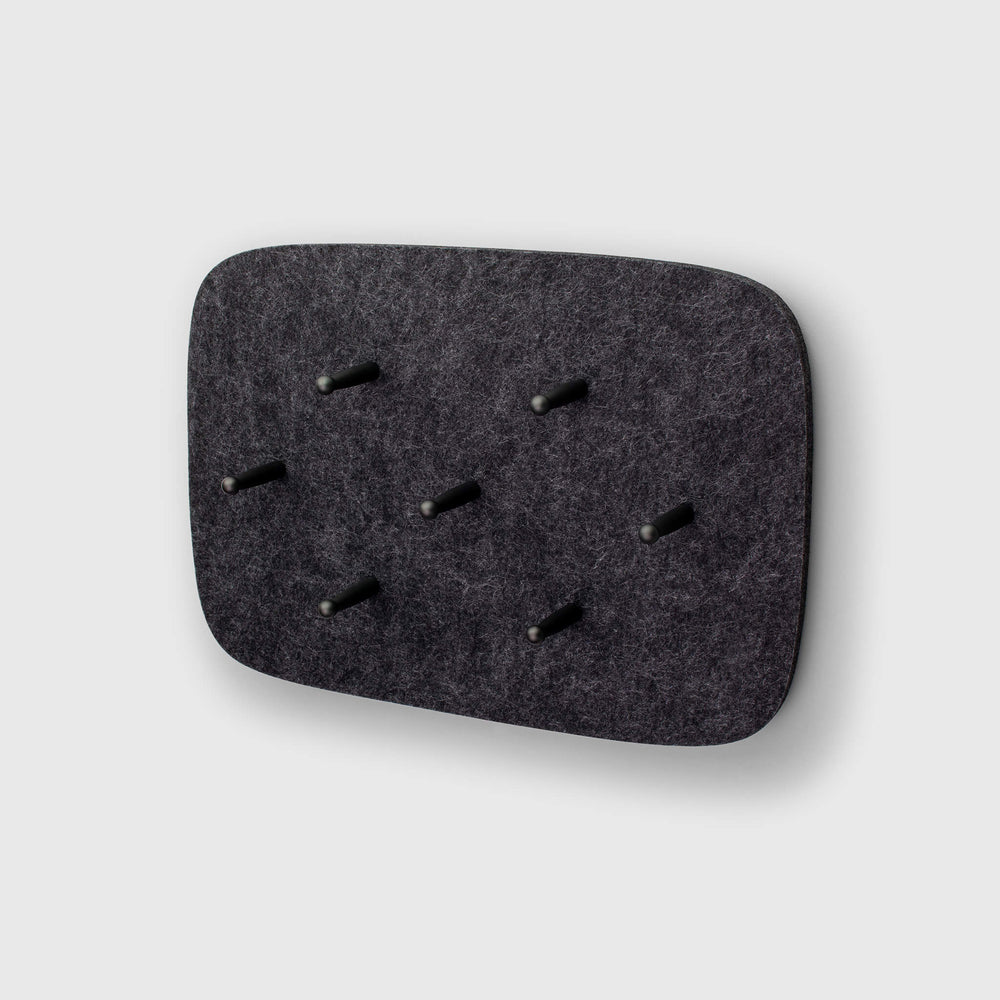
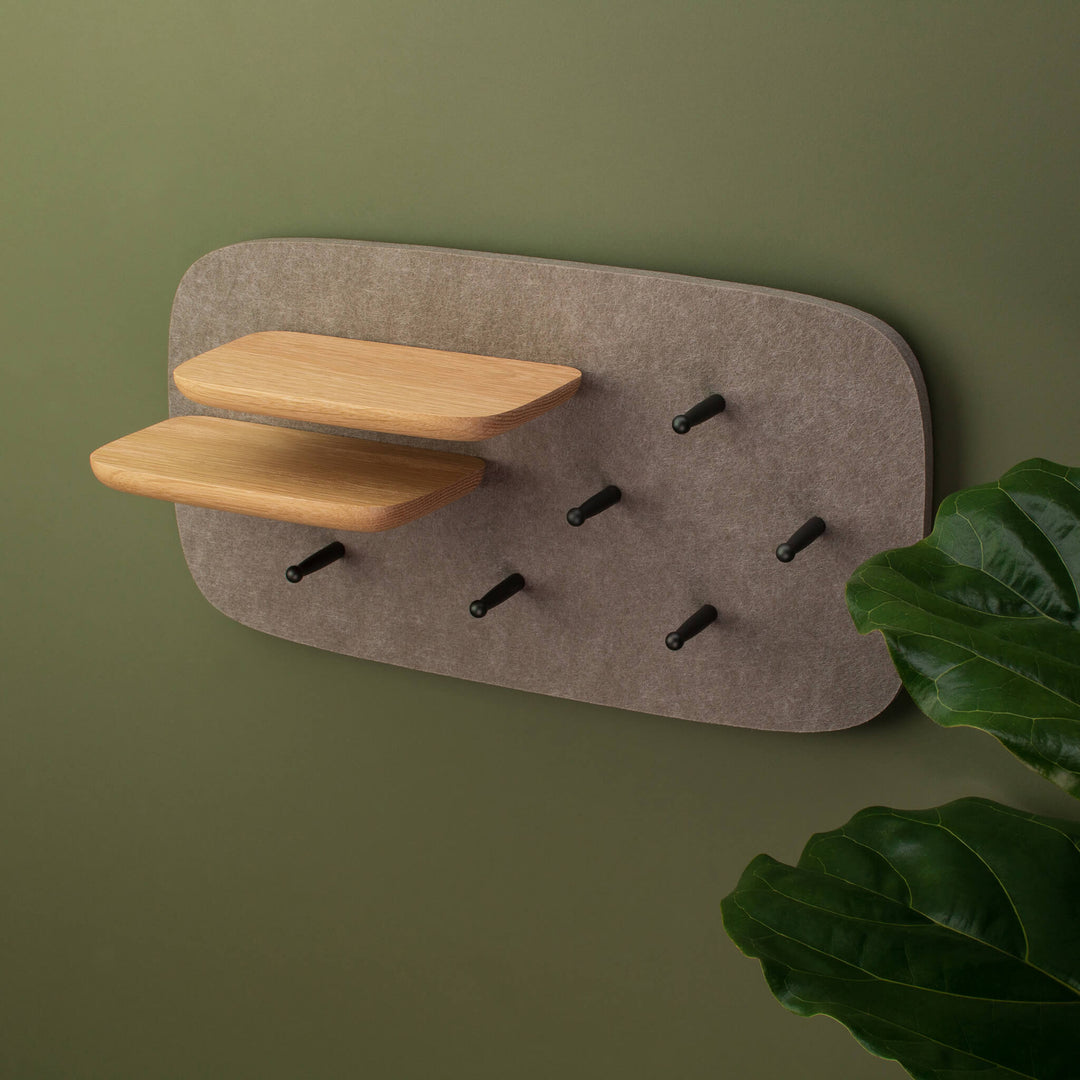
Welcome to your new MANTEL Pegboard!
There are two methods of installing MANTEL to your wall, either with:
- Four non-permanent 3M Command Strips (Large size), or..
- Two Screws (90mm apart horizontally)
Both methods allow for changing your MANTEL pegboard between portrait and landscape orientation at any time in seconds. However, we strongly recommend method 1 with the 3M Command Strips as they are:
- non-permanent (does not alter your wall or surface/ paint finish, even when removing) and 'renter-friendly'
- Quicker and easier to install than with screws (no tools required)
- If you change your mind and want to move your MANTEL, you just need some new strips for the new location.
The main reason for choosing the permanent screw fixing method 2 is if your wall substrate is not suitable for adhesives. For example, a highly textured timber, or a porous brick, concrete or exposed masonry wall. Because the screw type needed for this method will vary considerably depending on the wall substrate, you will therefore need to select these screws yourself from your local hardware store.
INSTALLATION
Method 1: 3M Command Strips
- Separate four joined Command Strips into individual strips and firmly press the 'grip' side of each into the opposing built-in strips in the backplate of your MANTEL. Note: they will make a crunching sound as you do this, which lets you know they are engaged.
- Remove the pegs from their packaging and screw all of them into the MANTEL. If you have a shelf, you can put this on the pegs now, as it is helpful when lining up your MANTEL to be horizontal (not that it matters too much, as you can always readjust it later. If you don't have a MANTEL shelf any small straight edge placed across any 2 horizontal pegs will do).
- Peel off the adhesive backing of the 4 strips you attached in step 1.
- Line up your MANTEL on your wall where you want it to go using the shelf or straight edge to line it up horizontally by eye.
- Press your MANTEL very firmly into the wall especially over the regions where the Command Strips are.
- To make sure the 4 wall strips attached firmly, you can gently peel the pegboard off the wall from any corner and then push the remaining wall strips firmly into the wall with your fingers. Then just stick your MANTEL back on.
- Done! Start hanging your everyday items.
Relocating your MANTEL using 3M Command Strips
You can buy new Command Strips from Amazon or your local stationary or hardware supply stores and larger supermarkets (for example in Australia, Bunnings or Officeworks). They are widely available.
Buy: Command™ Large Adhesive Picture Hanging Strips by 3M (the Medium size will also suffice if you can't find Large)
Method 2: Screws
- Select 2 wall screws suitable for your wall substrate.
- Make sure the screw heads are between 5.5mm (7/32") and 8.5mm (11/32") diameter in order to fit the keyholes in the MANTEL backplate.
- Mark with a pencil on your wall two horizontal points 90mm apart (the Welcome Card in the MANTEL packaging has two arrows at 90mm apart on either side edge for just this purpose).
- Drill your holes. If using wall plugs in plaster, we highly recommend WallMate Mini by Ramset (screw-in anchors).
- Screw the two screws in so that the head is sticking out around a1/2cm. Hang your MANTEL on the screws. The screw heads may need adjusting in or out until your MANTEL slots tightly in the keyholes and pulls the MANTEL against the wall. The built-in strips on the backplate will crush a little to allow for a snug fit.
- Done! Start hanging your everyday items.